When taking 360-photos of the different areas of a house, it is important for you to stay focused. From the start, you have several aspects to consider. You need to think about double exposure in the case of high lights or what is known as HDR exposure. It is also important for you to tilt or rotate the panoramic head and move the tripod for shooting the nadir.
Tips for Beginners
The following are the major aspects to consider when shooting for a virtual tour:
- A virtual tour that doesn’t use a tripod or is handheld is not possible. You need to use at least a monopod. Best of all, use a tripod.
- It is important to set the camera on a panoramic head and on a tripod for ease of use.
- Remove every trace of the tripod on the photo.
- Compensate the high lights through a door or a window.
When Shooting the Photos…
It is crucial to decide whether you will use a tripod or not. Almost every photographer uses the circular fisheye on a monopod. This lets the camera stay on the nodal point, particularly in height. Handheld shooting can only be possible for a virtual tour when you only have to take up to three photos to complete the entire sphere. It is better to stick to the entrance pupil or nodal point and to have a mobile solution. It is compulsory to use the tripod when you have to take more photos.
Note: The more complicated the tripod, the more space it will take at the nadir level.
During the preparation, you have to decide on the number of shots to take for rotation and also the number of ranges. You have to tilt or rotate the camera between two shots depending on the angle covered. If the camera used is notch-based, you only have to rotate the camera to the next notch. Without the notch, you can base everything on the viewfinder or the control screen. The viewfinder has its own set of benefits if the camera does not have any built-in cloaking device. An important piece of advice: look around to find out whether the subject can enter the field of the photo.

How to Shoot the Nadir With or Without the Tripod
There are several methods to eliminate the tripod. It depends on the nature of the floor level, the panoramic head, and the time you can spend on taking the photo. One method of shooting is one that requires you not to include the floor underneath the tripod. The second method is to take the floor under the tripod and let the tripod disappear in the actual virtual tour.
When you include the floor under the tripod in your shoot, the tripod appears on the photo. There are two methods to remove it: by placing a circular shape in its stead, covering it and by ceasing the downward movement of the mouse until the boundaries of the tripod’s arms. For the first method, it is important to include the copyright and the name of the location.
It is preferable not to include the floor in the photo. But if you still prefer otherwise, it is imperative to show as a little tripod as possible and make sure that the circle will be the smallest possible. These can be done through any of the following means:
- Shoot with a circular fisheye
- Shoot with a full-format fisheye and make sure that the vertical field of view makes the circle small
- Add one more line at its bottom where the boundaries of the tripod’s arms are.
- On the other hand, shooting the nadir without the tripod can be done following these steps:
- You have to shoot the raw materials that you will need later.
- Using photoshop, make sure that two or three photos match; and through the layers’ masks, remove all possible traces of the tripod.
How to Shoot the Raw Material
- Shoot at 0 degrees.
- Shoot the zenith photo at 90 degrees.
- Shoot towards the floor at -90 degrees. This can be done by directing the camera towards the floor right above where the rotary axis is. Be sure that the vertical arm is right above one of the tripod arms.
You will have a photo that is directed towards the floor with a print of the panoramic head and one of the arms of the tripod. This photo will go well with the others because the tripod is not likely to move. You will see that 80 percent of the photo tripod and it is free from the panoramic head. Only a small area of the floor is missing for the sphere to be complete.
It is necessary to shoot a photo of the place again, this time without the tripod. When shooting indoors, it can be complex and quite impossible to use the Photoshop stamp. The only solution to this is to use the same tripod for the panoramic head but tilt the tripod a little towards the floor.
Here are some more tips to consider:
Put a coin marker on the floor under the central column of the tripod before the tripod is moved. This represents the rotary axis of the nodal point of the lens and the camera head. It is also wise to rotate the vertical arm of the panoramic camera head at 180 degrees. Here the camera is already hung on the floor yet still on the tripod and at the same height which makes it stable all the time. Hence it is important to reposition the lenses accurately. All you have to do is to look through the viewfinder or make use of the live view or else position the coin at the center of the viewfinder. For the rest of the preparations and editing of the photos, you only need the raw material of the floor and paste on the old photo of the nadir through the use of Photoshop.
HDR or Double Exposure
This requires only minimal focus. Make sure to create a photo with less exposure time and a second one with exposures of 1.5/2 diaphragms. Make sure that you will not move the tripod or the panoramic head at this point. Exposure will always be in manual mode. Exposure changes must be done through speed change instead of the diaphragm to stay away from stitching problems.
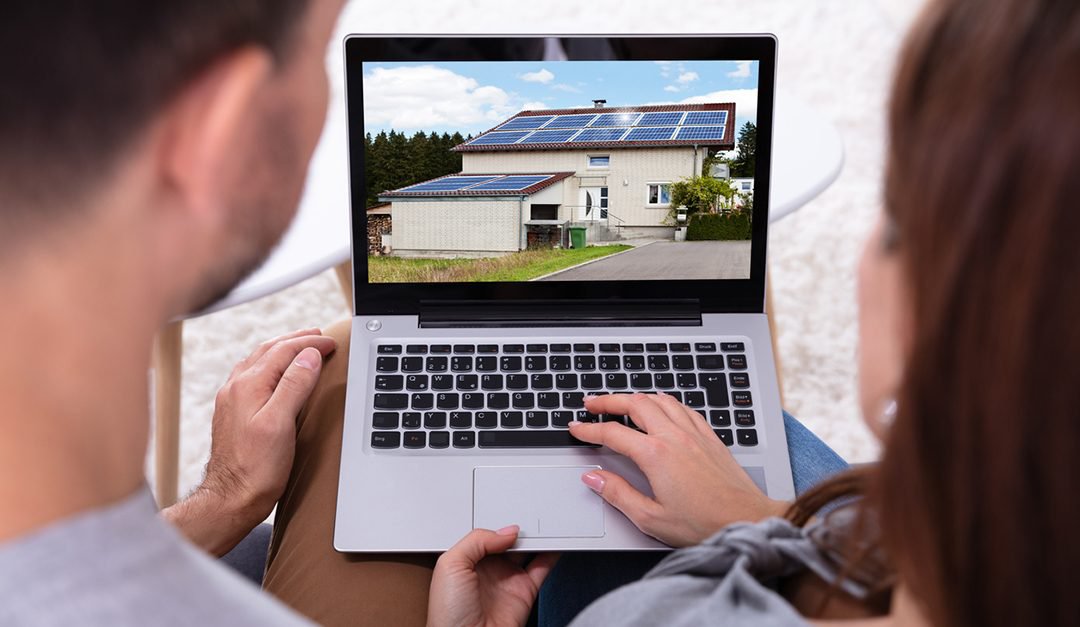
Now you’ll be able to take amazing 360-photos upon following the above-mentioned guidelines. Don’t forget to upload those photos into Virtual Tour Easy and start marketing your real estate properties today!