[101] How to Edit Scenes?
Lesson 5
This guide will assist you on editing scenes of your Virtual Tour assuming that you already created one on VirtualTourEasy.
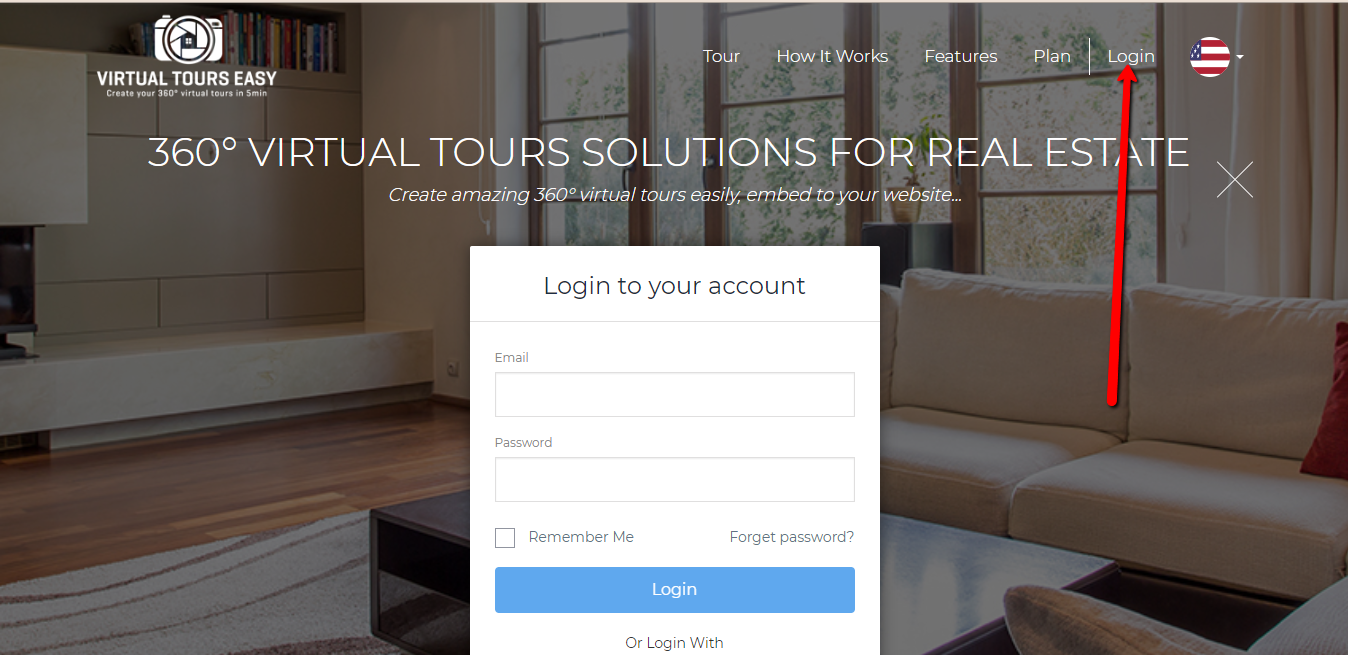
1. Access VirtualTourEasy.com and click the Login Button found on the upper-right part of the page to login.
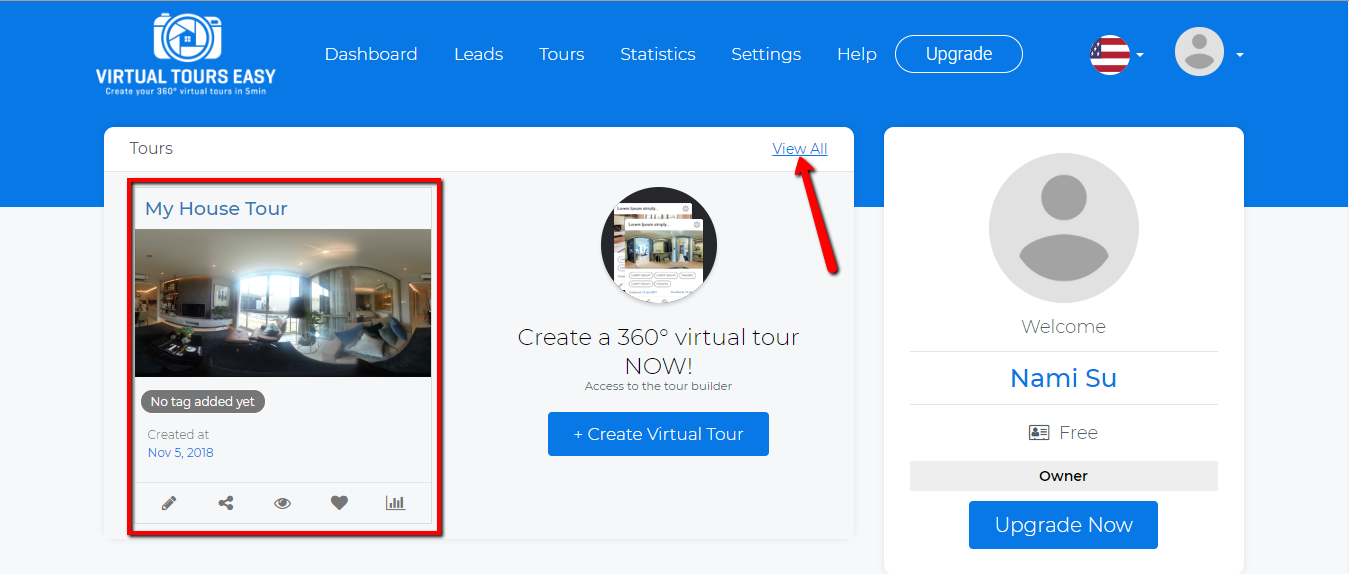
2. Once you're already logged in, you'll be redirected to the Virtual Tour Easy Dashboard. You can find your latest Virtual Tour at the left part of the dashboard or click "View All" to view all your created Virtual Tour.
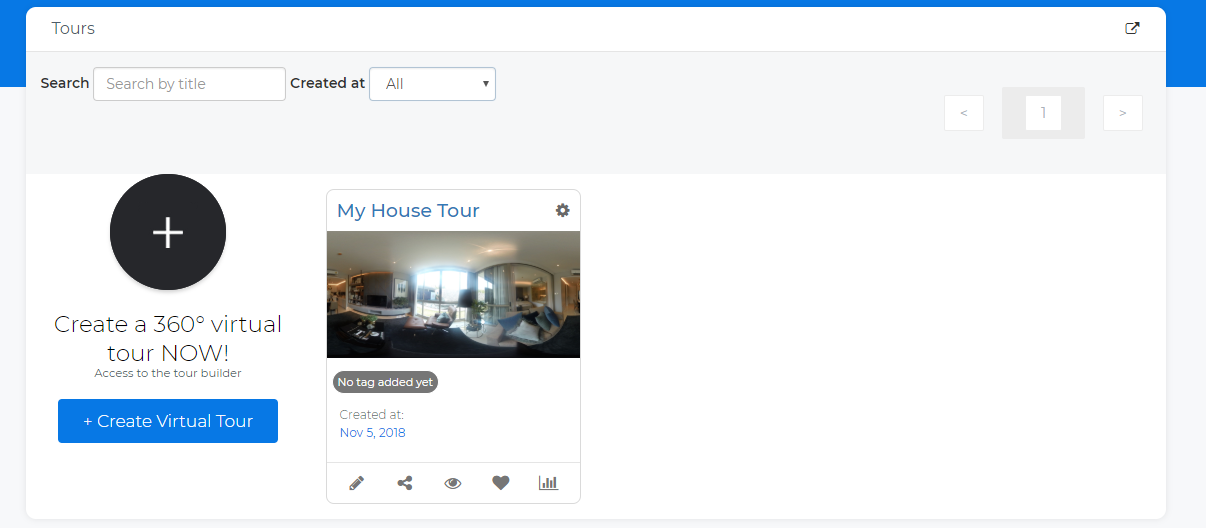
3. If you decided to click the "View All" text, you'll be redirected to the Tours Page where you can search for your created tours by title and day.
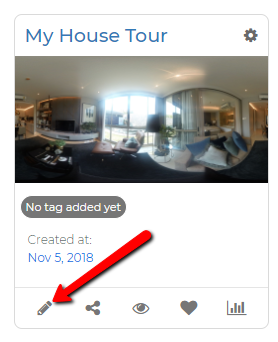
4. Once you found the Virtual Tour that you want to edit, click the Pencil Icon at the bottom-left part of the Virtual Tour to open the Tour Builder.
5. Once you're in the Tour Builder, click the scene that you want to edit then click the "Edit" button to access the edit scene popup.

6. The Edit scene popup is consist of 2 tabs, the "Scene Info" and "Audio" tab. In the "Scene Info" tab you can add the Scene Title and Description of the scene that you selected.

7. The second tab, "Audio" is where you can upload any audio/music to your scene. Just click the "Upload" button, and click the upload icon to choose the desired audio you want to attach to the scene. Don't forget to click the "upload" button and save button after choosing your desired audio.

8. Do the same steps to the rest of the scenes. Make sure to click the "Save & Exit" button after editing all the scenes.

9. And you're done! Feel free to to view your Virtual Tour by clicking the "Preview" icon.
