Tutorial: How Can I Rearrange Photos in My Virtual Tour?
Lesson 4
There may be times when you realize that the photos inside your Virtual Tour aren't the way you want them to be.
This guide will help you rearrange your photos on VirtualTourEasy.
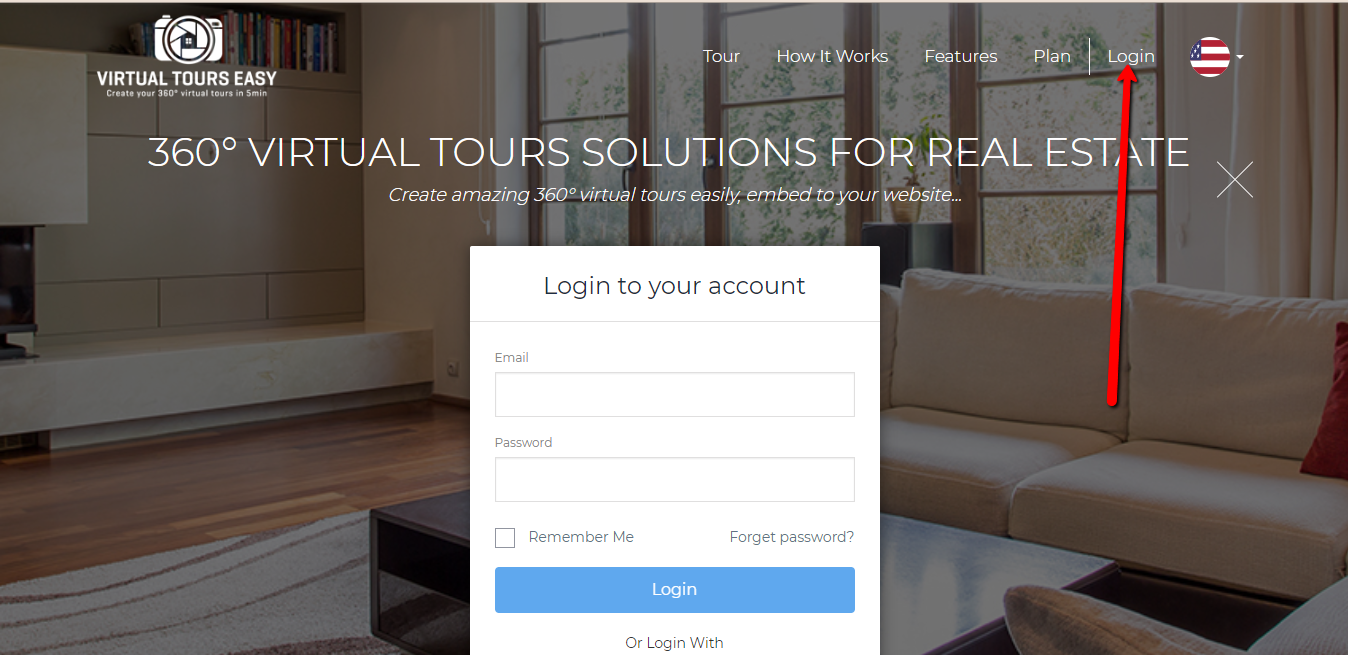
1. Access VirtualTourEasy.com and click the Login Button found on the upper-right part of the page to login.

2. Once you're already logged in, you'll be redirected to the Virtual Tour Easy Dashboard. You can find your latest Virtual Tour at the left part of the dashboard or click "View All" to view all your created Virtual Tour.

3. Once you found the Virtual Tour that you want to edit, click the Pencil Icon at the bottom-left part of the Virtual Tour to open the Tour Builder.

4. You'll see your uploaded photos at the bottom part of the Tour Builder.
If by any chance you can't find the photos inside the Tour Builder, just look for the label that says "Scenes /10" at the bottom-left and click it to show the photos.
Note: If there are still no photos inside the scene area, you need to upload your photos first by clicking the "Upload" button.

5. Once you see the photos, feel free to rearrange them according to your needs by clicking and dragging the photos inside the scene area. Click the "Save & Exit" Button once done.