[101] How to add Hotspots to your 360° Virtual Tour?
Lesson 6
This guide will help you add external hotspots on VirtualTourEasy.
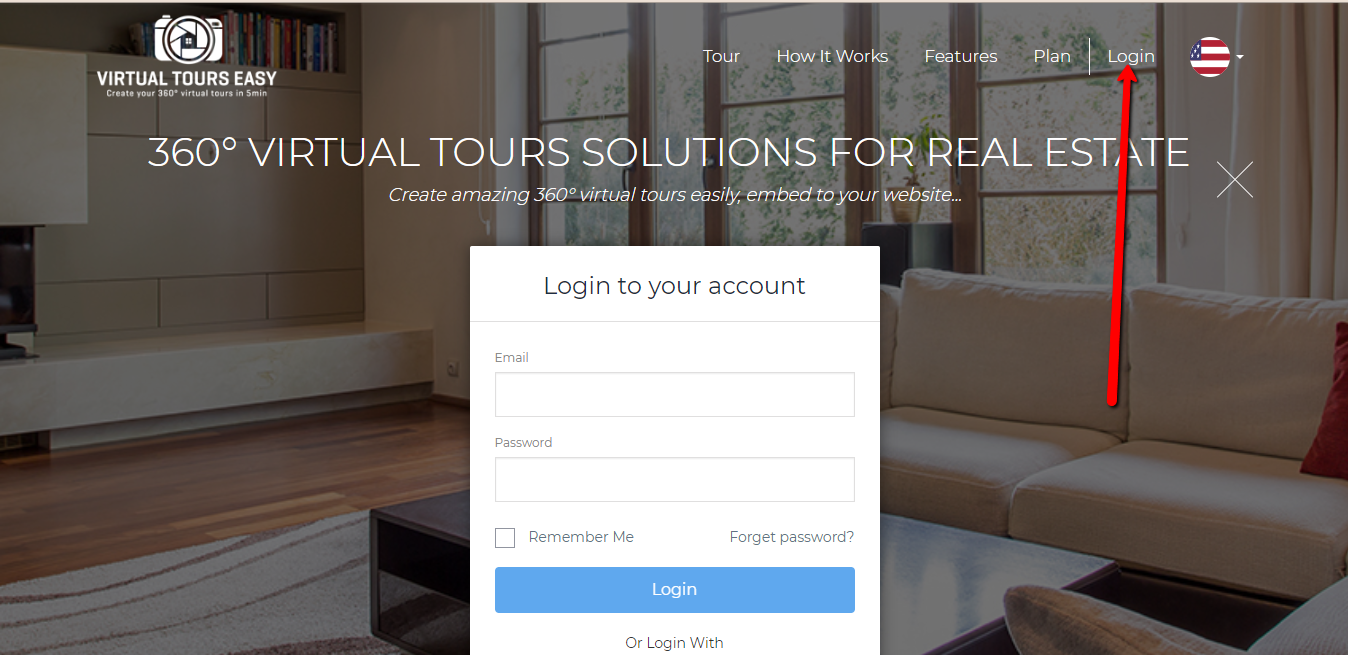
1. Access VirtualTourEasy.com and click the Login Button found on the upper-right part of the page to login.
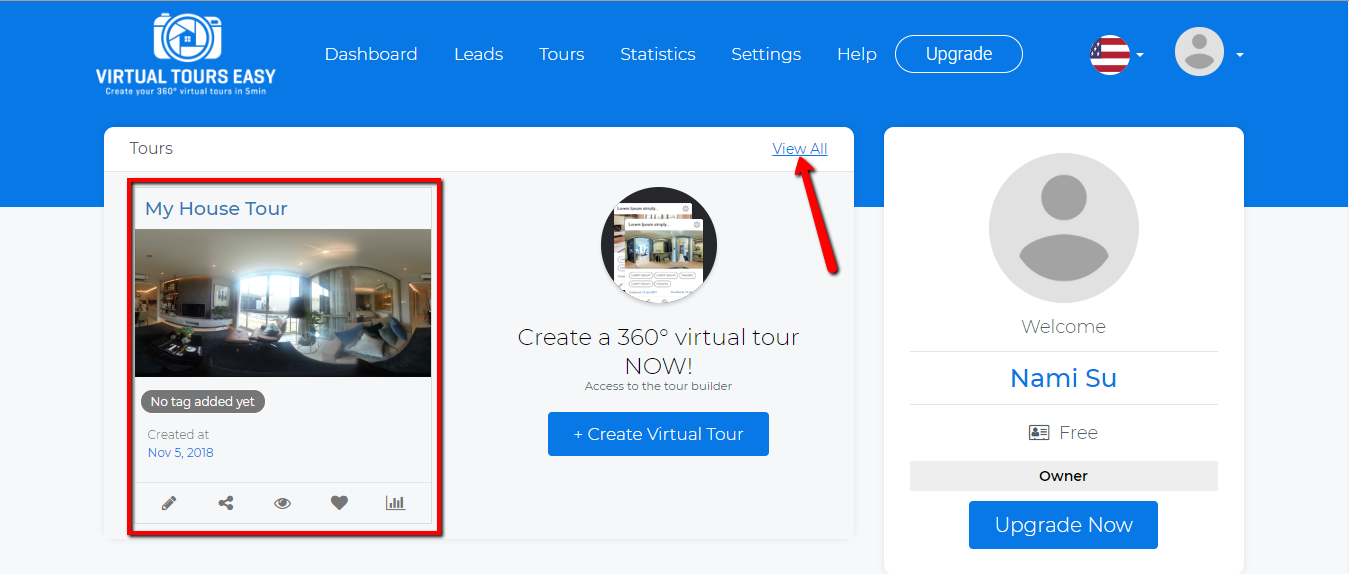
2. Once you're already logged in, you'll be redirected to the Virtual Tour Easy Dashboard. You can find your latest Virtual Tour at the left part of the dashboard or click "View All" to view all your created Virtual Tour.
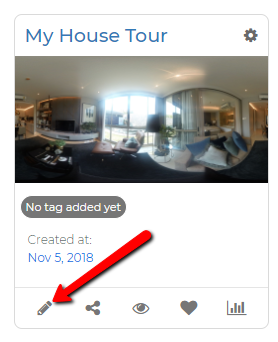
3. Once you found the Virtual Tour that you want to edit, click the Pencil Icon at the bottom-left part of the Virtual Tour to open the Tour Builder.
4. Once inside the Tour Builder, click the scene where you want to add the hotspot then scroll left/right until you find the specific area where you want to add the hotspot. Click the "Hotspot" button and place the crosshair cursor (+) on the area. Double Click the area to see Hotspot popup.
In this example, the Hotspot label is "Hotspot"

5. The Hotspot Popup contains 3 tabs where you choose what kind of hotspot you want to add: "Link to Scene", "Info Point", and "Link to Website". The "Link to Scene" tab is where you can link one scene to another scene inside your Virtual Tour. Add the name of your hotspot, select where to link the scene to a different scene, and choose an icon for that hotspot. Don't forget to hit save.

6. The second tab, "Info Point" is where you can add the info of your Hotspot. Add the name of the Hotspot, add any description you want for the Hotspot, and add the Hotspot icon as well.

7. The third tab, "Link to Website" is where you can add an external link to the Hotspot. You can add the name of the hotspot, the external link where you want to link the Hotspot, and the Hotspot icon. Don't forget to hit save.

8. Feel free to do the same to all the scenes you want to add a hotspot on. Once done, hit save.
