How to Display my 360 Virtual Tour on my Website, Example with WordPress?
Lesson 3
This tutorial will guide you on how to display your Virtual Tour on your website, example with WordPress, using the Embed feature of VirtualTourEasy.
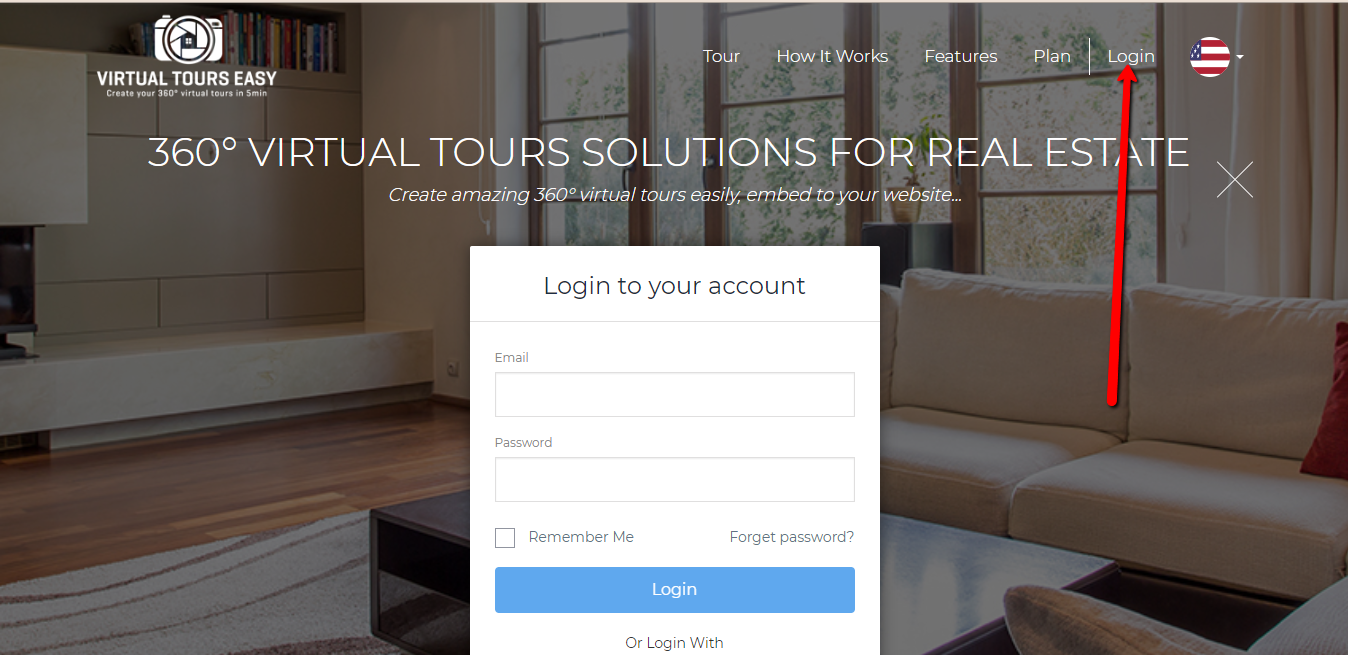
1. Access VirtualTourEasy.com and click the Login Button found on the upper-right part of the page to login.

2. Once you're already logged in, you'll be redirected to the Virtual Tour Easy Dashboard. You can find your latest Virtual Tour at the left part of the dashboard or click "View All" to view all your created Virtual Tour.

3. Once you found the Virtual Tour that you want to edit, click the Preview Icon at the bottom part of the Virtual Tour to open the Tour Viewer.

4. Once you landed into the Tour Viewer, click the share button at the top-right part of the Tour Viewer to view the share icons.

5. The embed code will show along with the share icons. You will need to copy the whole code and paste it to your website in order to display the Virtual Tour.
Note: You can adjust the size of your Virtual Tour by editing the width and height from the embed code. You can also edit the code if you want to show/hide the controls, show/hide scene selector, and allow/disallow audio.

Now, I will show you how to paste the embed code to your website.
1. Login to your website where you want to embed the Virtual Tour to.
Note: I'll be using a WordPress website as an example.

2. After logging in to your WordPress website, go to the page where you want to embed your Virtual Tour and click edit.

3. Click the "Text" Tab from the page in order to edit the page via HTML. Paste the Embed Code you copied previously from the VirtualTourEasy into the Text Area of your page.

4. After pasting the Embed Code, don't forget to click the Update Button from the sidebar to update your page.

5. View your website page to confirm if the Virtual Tour is successfully embedded. Feel free to edit the code to match your Virtual Tour according to your taste.