Tutorial: How Can I Add External Links to my Virtual Tour?
Lesson 3
There may be times that you want to link a specific item from your Virtual Tour to an external link to provide further information about that item. Virtual Tour Easy has a solution to that!
This guide will help you add external links on VirtualTourEasy.
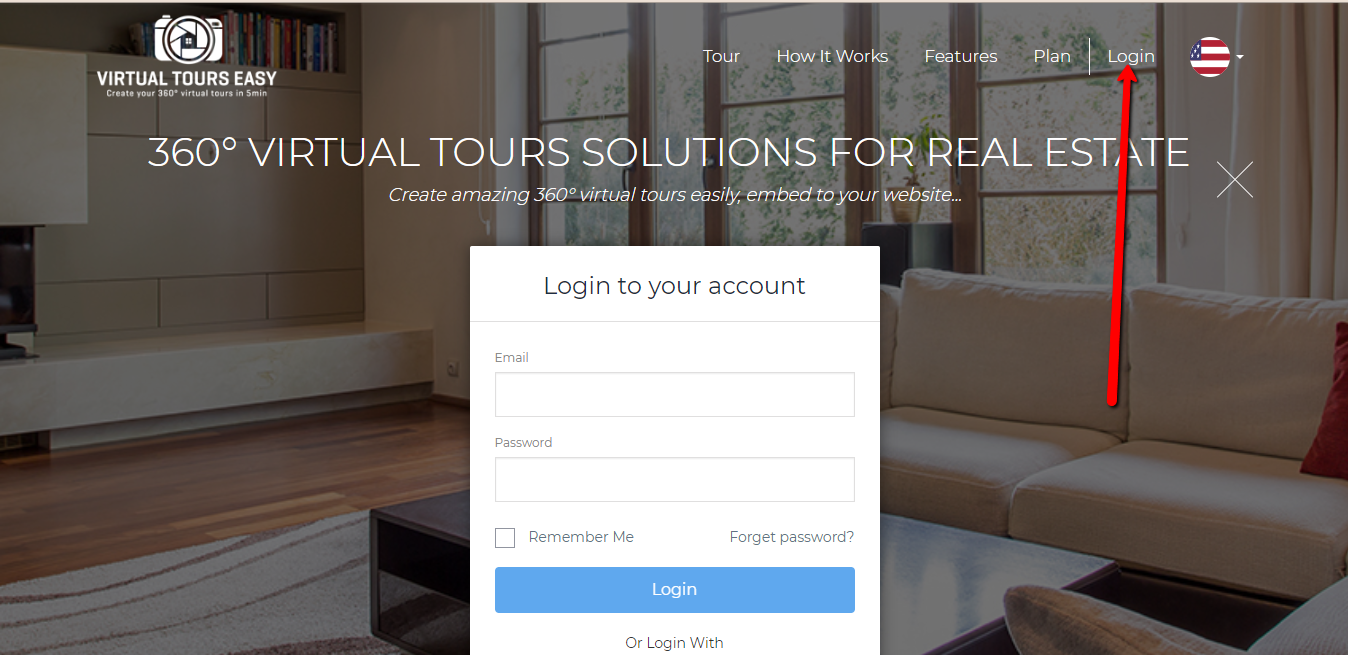
1. Access VirtualTourEasy.com and click the Login Button found on the upper-right part of the page to login.

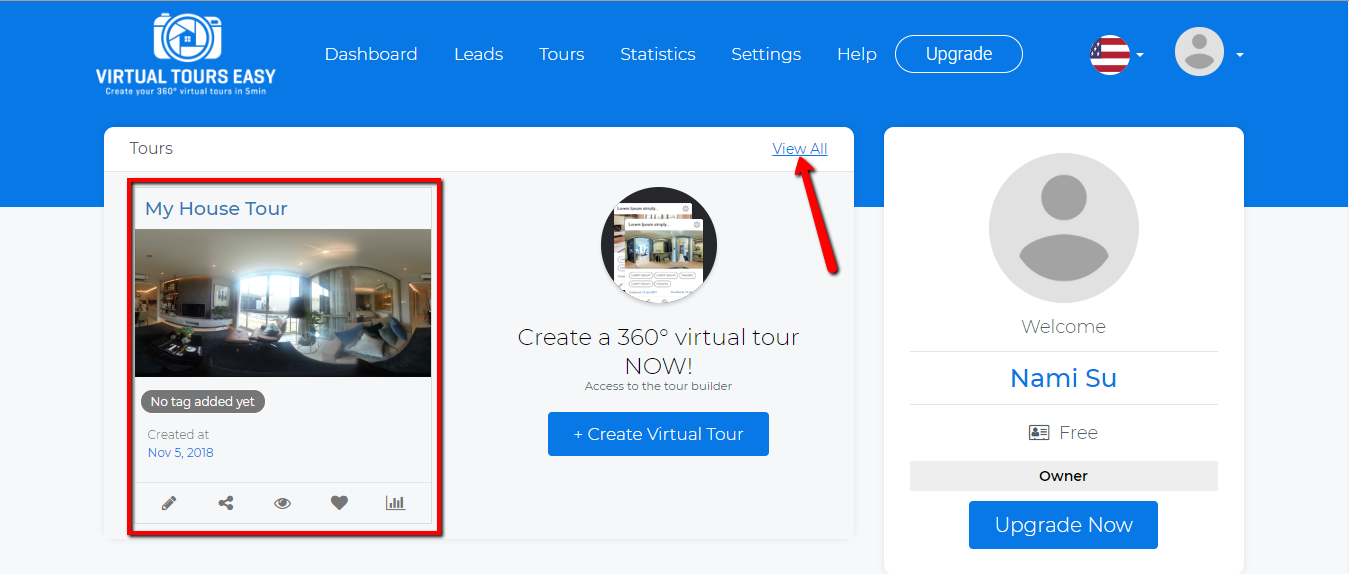
2. Once you're already logged in, you'll be redirected to the Virtual Tour Easy Dashboard. You can find your latest Virtual Tour at the left part of the dashboard or click "View All" to view all your created Virtual Tour.

3. Once you found the Virtual Tour that you want to edit, click the Pencil Icon at the bottom-left part of the Virtual Tour to open the Tour Builder.

4. Once inside the Tour Builder, click the scene where you want to add the external link then scroll left/right until you find the specific item where you want to link.
For this example, I am planning to link the Hilltania Pillow to the Hilltania Website.

5. After finding the specific item where you want to add an external link, click the "Hotspot" button and place the crosshair cursor (+) on the item. Click the item to see Hotspot label.
In this example, the Hotspot label is "Hotspot 2"

6. Double-click on the Hotspot label to open the Hotspot settings. Navigate to the "Link to Website" tab to add the external link. Feel free to change the name, icon, and finally, the external link. Don't forget to hit save.
Note: To delete a hotspot, just double-click the Hotspot label to see the Hotspot settings. Then click the Delete button at the bottom-left part of the Hotspot settings.

7. Now you're done adding the external link to a specific item on your Virtual Tour! Feel free to save and exit the tour builder once done.
Note: If you accidentally closed the tour builder, the changes will still be automatically saved. So don't worry!